
7 minute read · Existing panelling and design
Plan wall-panelling spacing from a measured elevation of each wall, including doors, sockets, radiators and skirting. Choose the visible pattern after those constraints are on the drawing. There is no single gap or rail height that makes every room look balanced.
This is an educational layout guide for a room in Dundalk or nearby. A fitter should check dimensions, material, fixing and installation requirements. Dundalk Painting Services paints existing panelling; this guide does not establish a fitting service.
Set the layout around room constraints
Draw the wall as if you are facing it, not as a floor plan. Mark overall width and height, skirting height, door architraves, window reveals and corners. Measure more than one position where an older wall may be uneven. Do not assume two walls with the same room dimensions have identical clear widths.
Decide what panel means on your sketch. An applied picture frame has a moulded outline with wall visible inside and around it. A shaker grid may share vertical strips between openings. A sheeted panel has another construction. A spacing formula from one system can give the wrong answer for another.
Compare fewer wider openings with a busier arrangement of narrow ones. Stand in the main doorway and consider what will be visible after furniture is back. A centred pattern behind a wardrobe contributes little to the finished room.
A worked shaker-grid calculation
This hypothetical drawing has a clear width of 3,000 mm between the chosen outer edges of the design. It uses four equal openings and five vertical strips, each 70 mm wide, with outer strips included within that width. Strips total 350 mm. The remaining 2,650 mm divided by four gives openings of 662.5 mm.
The arithmetic is 3,000 minus five times 70, divided by four. It is a drawing example, not a recommended product size or cutting instruction. A system with separate outside margins needs those margins deducted too. Write the convention on the sketch so two people do not measure from different edges.
Before accepting the result, draw sockets at their actual positions. If a strip crosses an accessory, change the number of openings, margins or composition and recalculate. Do not reduce electrical accessibility to preserve a mathematically equal grid. Your fitter and any relevant electrician should confirm the final detail.
| Drawing choice | Calculation or check | Visual consequence |
|---|---|---|
| Four openings, five 70 mm strips | (3,000 - 350) / 4 = 662.5 mm | Broad openings and fewer vertical lines. |
| Five openings, six 70 mm strips | (3,000 - 420) / 5 = 516 mm | More frequent vertical rhythm. |
| Picture frames with separate gaps | Deduct frame widths and all gaps | Shaker-grid arithmetic does not transfer. |
| Wall with a door | Draw each clear run separately | Avoid an accidental partial opening. |
Work around doors, sockets and radiators
Draw every accessory as a rectangle with its full faceplate, not a centre point. Include space for covers, switches and maintenance. Record projections, including radiator valves and door handles. Never cover vents, essential access or service fittings to complete a pattern.
Check door movement with proposed panel thickness and cap profile in mind. Add the effect of architrave and skirting projections, especially on short returns. The design should end deliberately beside a doorway rather than leave a sliver that looks like a measuring mistake.
Radiators create a visual interruption and a separate access issue. A layout drawn through one may not be practical. Do not remove or move it to complete a sketch. Ask the responsible person to explain the workable detail and any separate plumbing scope before installation.
Check height and stair alignment
Use room features to test rail height. Mark candidate lines reversibly where suitable for the existing surface, or show them on a scaled drawing. Compare against window sills, switches, headboards and door proportions rather than selecting a fraction of wall height automatically.
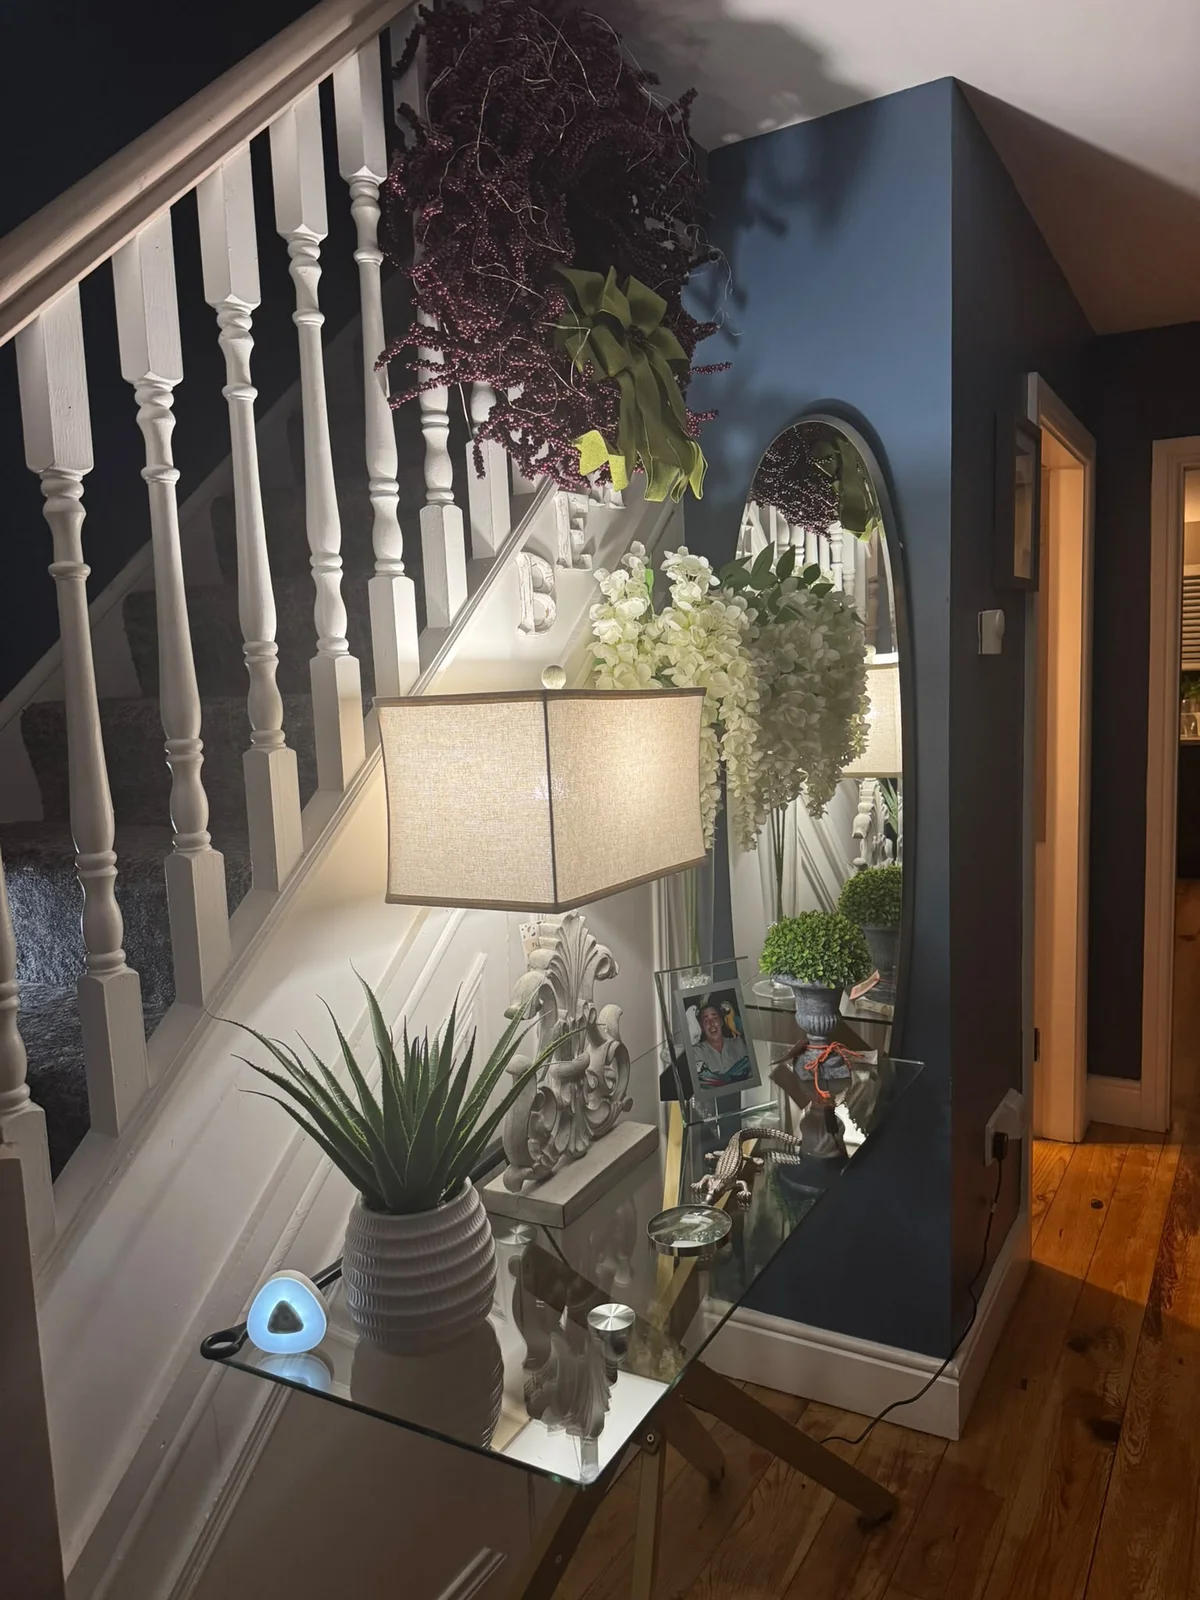
A stair wall needs a separate elevation showing pitch and each landing. Decide where a sloping rail becomes horizontal, how the pattern turns and what happens at the bottom step. Measure vertical height and perpendicular distances consistently; mixing them creates unequal-looking frames.
Stairs involve safe access, handrails and usable passage. A decorative drawing is not approval to alter guarding or narrow a route. A competent fitter should assess those implications. Our hallway and stair panelling guide develops stair decisions; bedroom constraints are covered in planning a bedroom feature wall.
Use a measured sketch rather than a universal spacing rule
Orac's panelling design advice discusses alignment and proportion. Treat aesthetic spacing recommendations as starting points for those designs, rather than universal installation standards. Room obstructions and chosen profiles still control the drawing.
For each wall, record total width, outer margins, strip or moulding width, number of openings, opening width, rail height and the reference point for every measurement. Add material and profile names. Ask someone to explain the sketch back to you: if they cannot identify panel edges, it is not ready.
Check the sum independently. Openings plus strips plus margins should equal the design width. On adjoining walls, compare the actual visible pattern rather than forcing identical opening widths at all costs. A short return may need its own deliberate treatment.
The handover to fitting and painting
Include the approved drawing, photographs, unresolved obstacles and named responsibility for final measurement. Material suitability, concealed services, fixings and building requirements belong with the appropriate installer or professional. This worksheet does not substitute for those checks.
Keep the painting handover separate. Record whether wall fields, upper wall, capping, skirting and nearby doors are included. Photograph joints and exposed cut edges. This lets the decorator consider preparation and compatible coatings on the actual fitted surfaces.
If the layout is still being discussed, you can start a painting enquiry while saying so. Send your area, drawing version and what has been installed. Existing-panelling painting can be discussed with the fitting boundary clear. A visit may be needed before the decoration scope is settled.
Questions before you decide
Should equal openings continue around every corner?
Not necessarily. Equal openings on a long clear wall can become awkward on a short return or beside a door. Compare the corner as a visible composition and keep profiles or rail relationships consistent where appropriate. Draw each run with its actual clear width. A deliberately simpler return can look more resolved than a tiny partial opening created by rigidly continuing one spacing rule.
What if a radiator or socket prevents symmetry?
Keep the service usable and resolve the layout around it. Compare altered margins, a different number of openings or a simpler treatment in that section. Do not cover an accessory or make a maintenance point inaccessible to preserve a drawing. Any relocation is separate work for the appropriate person and should be confirmed before the decorative layout or material order is treated as final.
Can I order strips from the total length on my sketch?
The total is only a preliminary quantity. Stock lengths, joins, cuts and unusable offcuts affect the actual order. Ask the fitter to confirm a cutting list and the allowance appropriate to the chosen product. Keep that distinct from the visible spacing calculation. A drawing requiring ten metres of material does not establish that any combination of ten metres from the shop will fit it.
Painting existing panelling: discuss your surfaces and scope. Contact the team with your area and photographs.