
8 minute read · Fence painting
To paint a fence, first identify the timber, previous treatment and any damage. Choose a compatible coating, prepare the sound surface, protect the garden and apply the specified coats in suitable conditions. A new colour should follow those checks rather than hide failing paint or damaged boards.
This workflow covers the practical branches that change the job: newly installed timber, old stain, rough or planed boards, tools and aftercare. For fence painting in Dundalk, a full-run photo and close-ups of the existing finish are useful starting information.
Identify timber condition and previous treatment
Walk the run from safe ground level and check boards, rails, posts and gate sections separately. Record loose coating, grey weathered fibres, soft areas and unstable components. Painting is a decorative treatment, not a repair for an unsound boundary. Any damaged timber or unstable fixing needs the appropriate assessment first.
Find the old product if possible. Paint, translucent stain, wax-rich treatment and unknown preservative do not provide the same base. If the fence is peeling, use the peeling fence diagnosis guide before selecting the repaint sequence. Unknown older coatings require assessment before disturbance, not a default sanding instruction.
| Starting point | Decision before preparation | Next branch |
|---|---|---|
| Sound uncoated timber | Identify timber, treatment and readiness | Select an approved system |
| Sound previous coating | Establish compatibility and intended colour change | Representative preparation and test |
| Peeling finish | Assess cause and extent of failure | Local or wider preparation after diagnosis |
| Soft or unstable timber | Clarify repair responsibilities | Wait for suitable sound material |
| Unknown old treatment | Identify what can safely be established | Do not guess a universal primer |
Pressure-treated or newly installed timber: manufacturer readiness checks
Pressure treatment protects timber for its intended service conditions; it does not itself prove readiness for decorative paint. Ask the timber supplier what treatment was used and the coating maker what readiness is required. New boards may need to dry or weather according to that specific combination.
Do not substitute a universal six-week, six-month or moisture-percentage rule. A product-approved readiness test may help, but it should not be transferred to a different finish. Likewise, damp-wood permission for one named fence coating does not mean every treatment can go onto rain-wet timber.
Sadolin's preparation guidance discusses treated new timber as a distinct starting point. Use the current selected product sheet and supplier information to settle the actual preparation rather than treating all green-tinted timber alike.
Painting a previously stained fence: compatibility before preparation
Changing to opaque colour is a separate decision from renewing a similar translucent finish. The old stain or treatment may affect absorption, adhesion and final appearance. Record its identity and condition; if unknown, agree a representative assessment and test before the whole run is coated.
A waxed or oily surface can behave differently from a sound conventional coating. Do not add a generic primer solely to force compatibility. The complete system needs approval for the retained treatment and timber. Read paint versus stain for the appearance and system-choice decision.
Test on an area that represents the real fence: old treatment, repaired patches and exposure differences where relevant. Record cleaning, preparation, product and drying conditions. Judge colour and adhesion at the stage and by the method recommended for the selected system, not immediately after the test looks dry.
Rough-sawn versus planed timber: cleaning, coverage and tools
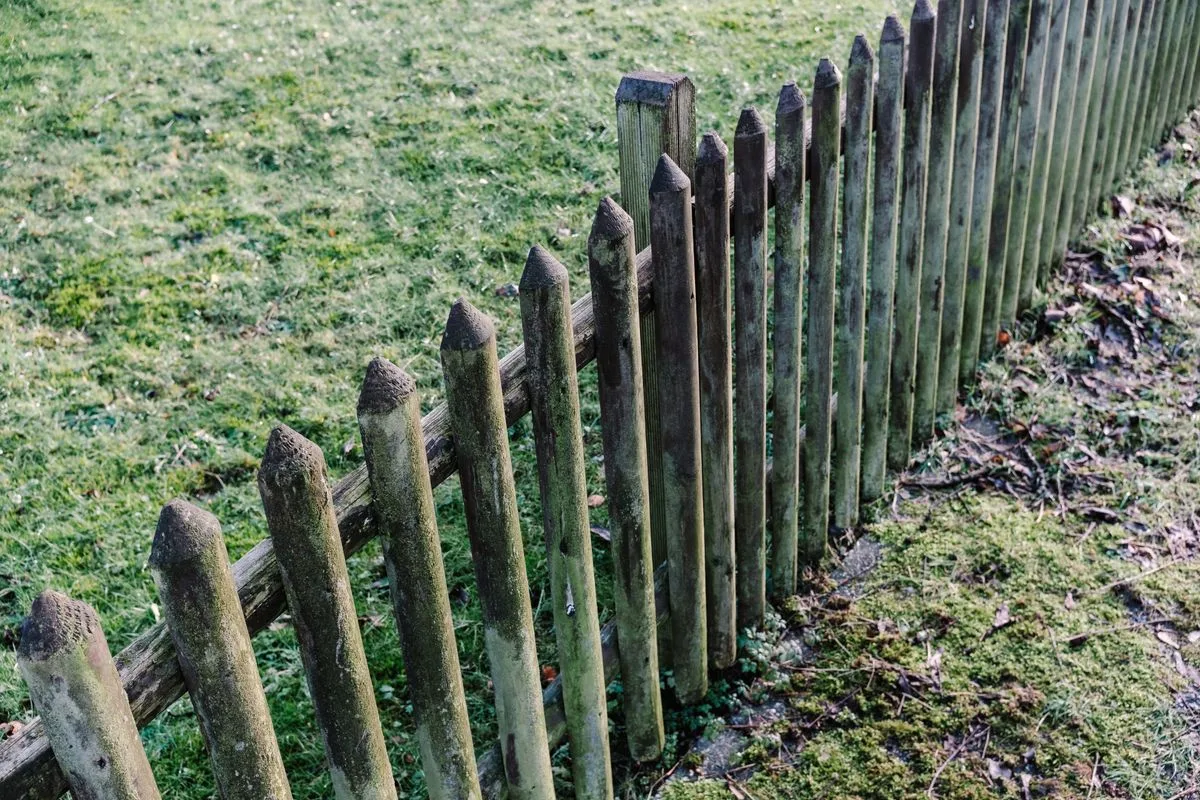
Rough-sawn timber has a more open, textured face than smoothly planed boards. Products can distinguish between them in both permissions and application. The Ronseal One Coat Shed & Fence Protector specifies rough-sawn use. Fence Life Plus permits rough-sawn and smooth-planed timber with different detailed coat guidance.
That comparison belongs to those exact products. It does not mean every Ronseal product has the same restrictions, or that all planed fences need the same primer. Check the current label and data sheet for the actual tub being used.
Texture and board construction also affect coverage. Recesses, overlaps and rails make a headline panel count unreliable. Use the paint quantity resource to calculate the measured faces and apply the selected product's realistic coverage, keeping material quantity separate from labour.
Clean, dry and prepare the surface
Choose cleaning for the known coating and timber. Remove dirt and interfering material without damaging sound fibres or forcing water into vulnerable joints. High-pressure washing is not automatically suitable. Allow the surface to reach the selected coating's required condition afterwards.
Where a system requires treatment for biological growth, use only a suitable product according to its label, including protection, dwell, rinsing and disposal instructions. Do not improvise bleach mixtures or claim that a decorative coating permanently cures mould. If repeated wetting is sustaining the problem, assess that condition.
After safe assessment of a non-hazardous coating, deal with loose material to a suitable sound boundary and address the permitted local defects. If failure continues beyond the visible patch, reassess the scope. Do not coat loose flakes because the new product claims strong adhesion.
The current Cuprinol Garden Shades information calls for clean, dry surfaces and a colour and adhesion test over previous coatings. Its instructions illustrate why retained finish and readiness matter, without supplying a recipe for every fence product.
Protect surroundings and check suitable weather
Move or protect furniture, pots and stored items as agreed. Establish permission and access for the reverse face before including it. Protect planting, ponds, paving, windows and neighbouring surfaces appropriately; gaps between boards can allow coating through to the far side.
Check the weather for application and drying, including later rain, dew and temperature changes. The selected product's limits govern. Use the exterior weather guide to plan the full window rather than relying on one dry hour. Do not extend a damp-timber claim into permission to paint during rain.
Contain cleaning residues and paint washings, following the label and local disposal guidance. Water-based does not mean residues belong in drains or on the ground. Keep pets and children away from the working area and follow the product's return-to-use advice.
Choosing a brush, roller or sprayer and controlling overspray
A brush offers control around rails and edges. A roller can help on suitable broad faces but may not reach every recess. A sprayer requires a compatible product and equipment, suitable conditions and effective containment. None is automatically the best method for every fence.
| Method | Useful consideration | Limit to resolve |
|---|---|---|
| Brush | Control at joints, edges and awkward details | Working material into the actual texture |
| Roller | Broad accessible faces | Missed recesses and required detailing |
| Sprayer | Product-approved larger areas | Overspray, drift, gaps and surrounding protection |
Confirm the team's actual proposed method before booking. This comparison does not advertise a spraying service. Never accept drift onto neighbouring property as inevitable or thin a coating beyond its instructions to make it pass through equipment.
Apply the specified coats and respect drying times
Stir and apply according to the named product, using the approved method and film build. Work in manageable sections and check edges, overlaps and recesses for missed areas or runs. Do not apply a heavy extra layer to compensate for poor coverage or a short weather window.
Respect the recoat interval and the actual state of the previous coat. Touch-dry, rain resistance and full cure are different. A strong colour change or very absorbent area may need the manufacturer's additional guidance, not an invented universal coat count.
Hypothetical example: an old rough fence has several new smooth-planed replacement boards. One selected product may suit both, but its instructions and appearance can differ on each. Test the mixed area, calculate the real coverage and follow the relevant preparation branch. Treating every board as identical can leave inconsistent colour or performance.
Inspecting and maintaining the coating before the next repaint
Keep the product, colour and date, then inspect visible wear and damage in context. Exposed sections, sheltered damp areas and contact points may change at different rates. Address local damage using a compatible maintenance approach after its cause is understood.
Do not turn an "up to" protection claim into a guaranteed repaint interval. Condition-led exterior maintenance explains how to record observations and next actions. If the fence peels again in the same place, return to diagnosis rather than applying a routine refresh coat.
- Record where wear appears and whether it is recurring.
- Compare exposed and sheltered sections.
- Check timber remains sound and stable.
- Confirm the existing product before a maintenance coat.
- Follow the current preparation and application instructions.
- Keep repair and replacement responsibilities separate.
Fence workflow questions
Can I paint immediately after cleaning? Only when the surface has reached the condition required by the selected product. Dry-looking faces can hide damp joints or shaded recesses. There is no standard waiting period for every cleaning method, timber and weather combination.
Does a new fence need a separate preserver? It depends on the supplied timber treatment and the selected decorative system. Confirm both before adding products. An unnecessary or incompatible treatment can complicate adhesion, while a coating does not replace the timber's required preservative specification.
Can I leave the reverse unpainted? Define the intended faces and follow relevant timber and coating advice. Permission and access also matter. Do not assume that painting one visible face makes inaccessible edges or the reverse part of the same job. A clear scope records what is included and what remains.
Fence painting: discuss your surfaces and scope. Contact the team with your area and photographs.